


Brand Ambassador Onboarding Checklist for 2026 (Step-by-Step)
Brand ambassador onboarding sets up the next 12 months of program performance. See the complete onboarding checklist - welcome kit, contracts, briefs, and tools.
Table of Contents
A one-off sponsored post can survive a vague brief, an ambassador relationship can't. That’s why you should pay extra attention to detail during brand ambassador onboarding.
Ambassadors are expected to represent your brand consistently over months, which means small gaps in onboarding (an unclear tone guideline, a missing FAQ, an untested discount code) compound every time they post.
Treating onboarding as a real process instead of a welcome email also sets expectations early. An ambassador who receives a clear, organized onboarding experience is more likely to take the partnership seriously and produce content that actually reflects your brand accurately.
This checklist walks through what a real onboarding process should include, in order, so every ambassador starts the relationship with the same clarity and the same tools.
Brand Ambassador Onboarding Checklist
These steps are simple and straightforward, but will help you set the tone for the entire relationship with the creator.
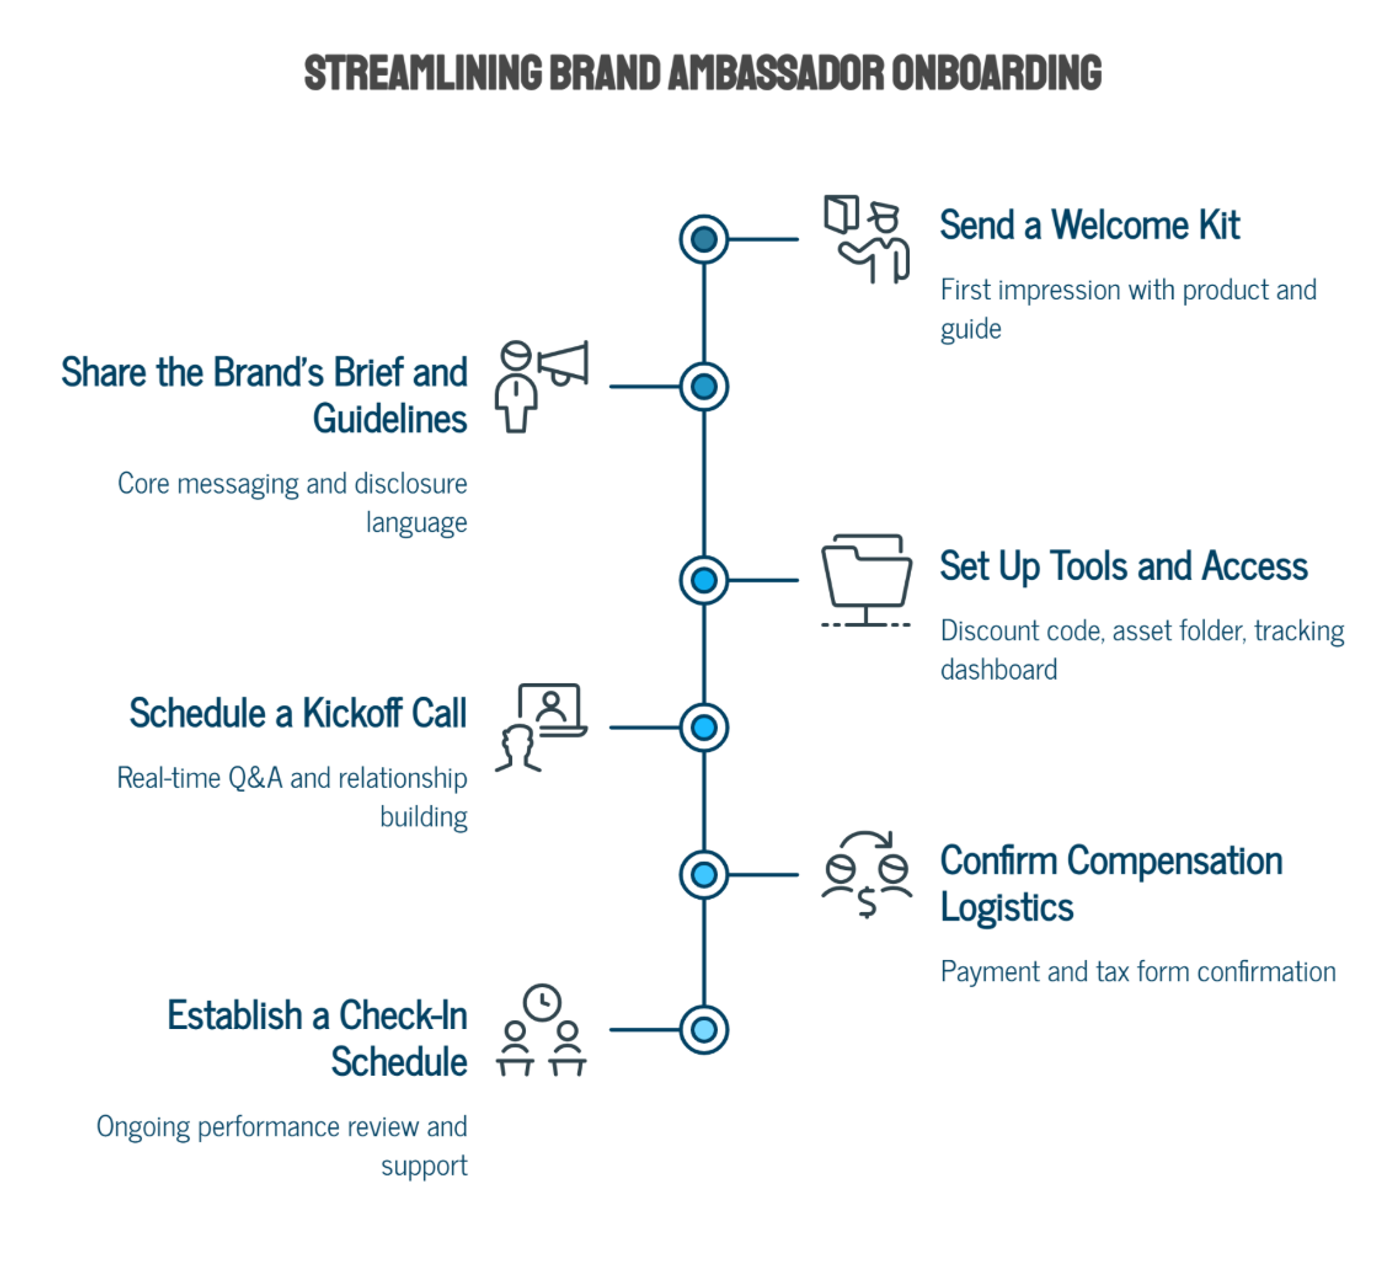
1. Send a Welcome Kit
Before any contract details or briefs, send a short welcome message and a physical or digital kit. This can include the product itself, a printed or PDF welcome guide, and a personal note. It's a small gesture, but it's also the ambassador's first real impression of what working with your brand feels like day to day.
2. Share the Brand’s Brief and Guidelines
Include your core messaging points, required disclosure language (#ad, #partner, or your specific FTC-compliant phrasing), any claims that need to stay accurate (pricing, product benefits, availability), and a few examples of past content you liked. Leave room for the ambassador's own voice; this should be a guardrail, not a script.
3. Set Up Tools and Access
Get logistics handled before the ambassador is expected to post. This typically includes a personal discount code or affiliate link, access to a shared content or asset folder, login details for any tracking dashboard or platform they'll use, and a clear point of contact for questions.
4. Schedule a Kickoff Call
Even a short 15-to-20-minute call goes a long way. Use it to walk through the brand guidelines, answer questions in real time, and put a face (or at least a voice) to the brand behind the contract. For larger ambassador programs, a group kickoff session can cover the basics once, with individual follow-ups reserved for anything specific.
5. Confirm Compensation Logistics
Walk through exactly how and when compensation works, whether that's a recurring flat fee, commission payouts on a set schedule, or free product shipments. Confirm the ambassador has provided whatever's needed on their end (tax forms, payment details, shipping address) before the first deliverable is due, not after.
6. Establish a Check-In Schedule
Onboarding shouldn't end after the first week. Set a recurring check-in (bi-weekly, monthly, or quarterly depending on the program size) to review performance, refresh briefs as products or messaging change, and catch any friction before it becomes a bigger problem.
How To Adapt the Onboarding For Different Program Sizes
Not every ambassador program needs the same level of hands-on onboarding, and matching the process to the program size keeps it sustainable as you scale.
Want to put this into practice?
SideShift connects you with vetted UGC creators who actually deliver. Start your free trial and post your first job in under 10 minutes.
For a small roster of five to 10 ambassadors, a fully personalized onboarding, including individual kickoff calls and custom welcome kits, is manageable and worth the investment, since each relationship carries more weight for the overall program.
Once a roster grows into the dozens, a more templated approach becomes necessary: a standardized welcome kit, a shared onboarding guide covering the brand guidelines and expectations, and group kickoff sessions instead of one-on-one calls. The checklist itself doesn't change, but the format each step takes should flex with the size of the program.
Larger programs also benefit from batching onboarding into cohorts rather than staggering it continuously, since managing several ambassadors through the same stage at once is easier to track than a rolling pipeline of individual start dates.
Common Brand Ambassador Onboarding Mistakes to Avoid
A rushed or inconsistent onboarding process tends to create the same handful of problems, most of which are easy to avoid once you know to look for them.
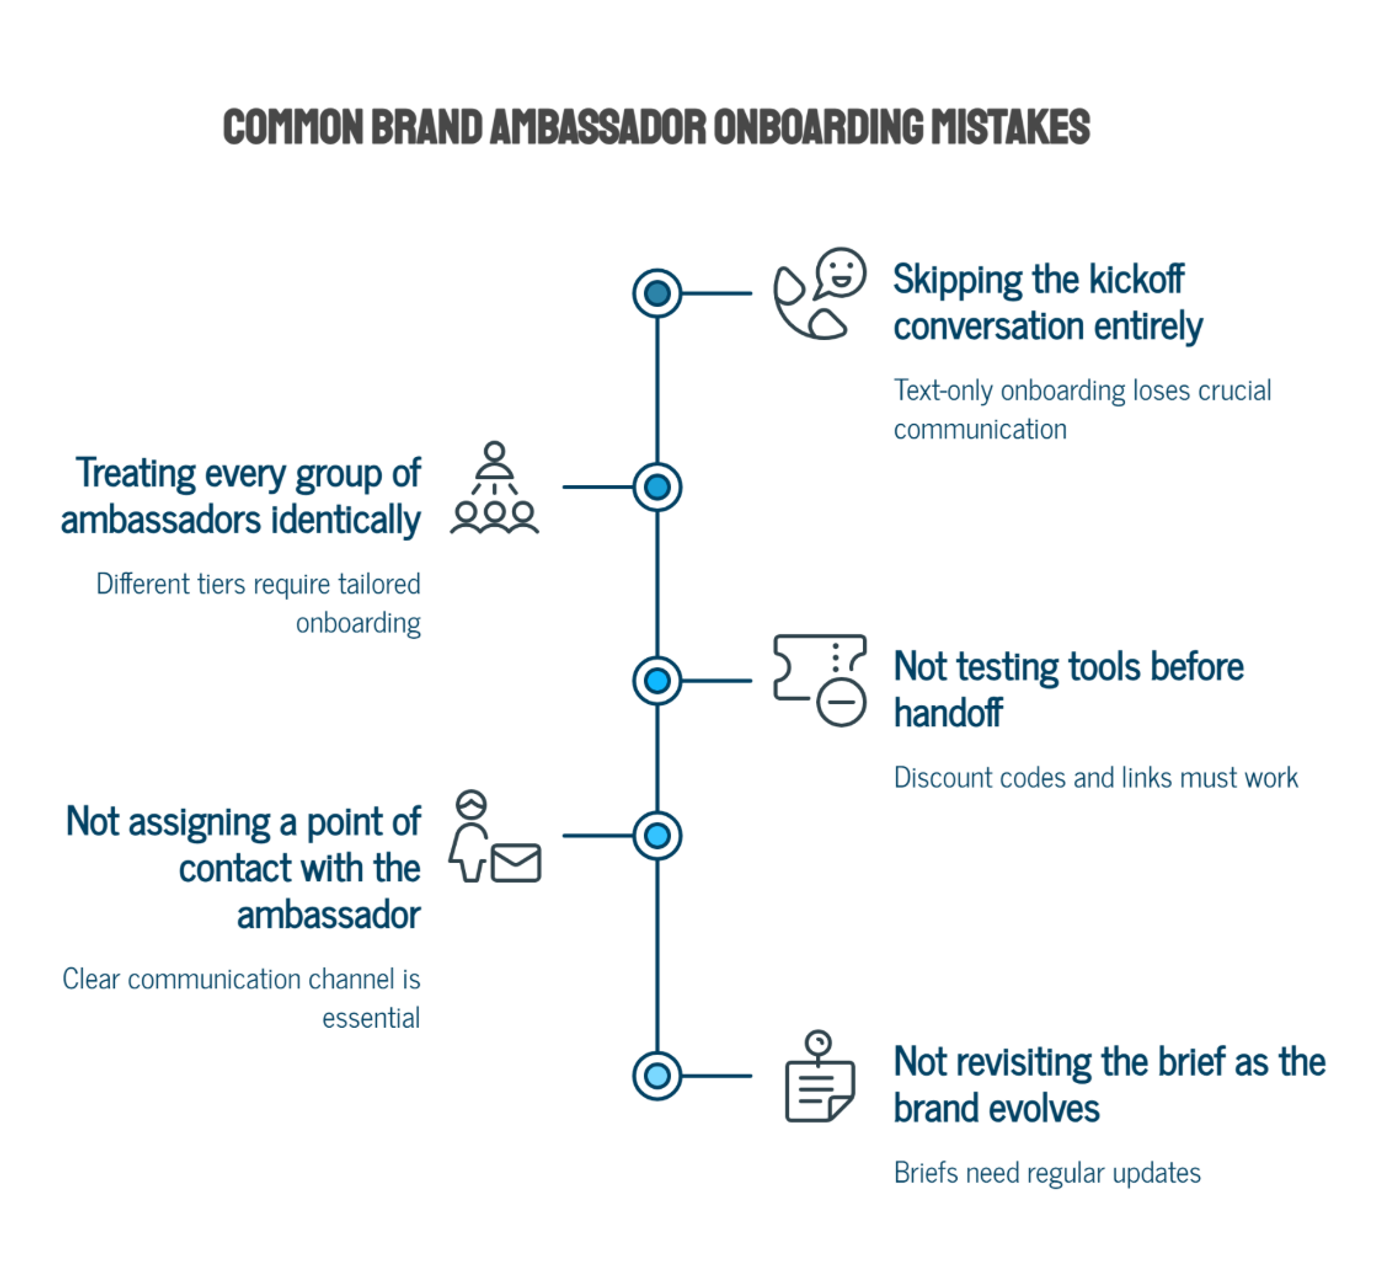
- Skipping the kickoff conversation entirely. Text-only onboarding is faster to execute but loses the chance to catch misunderstandings before they turn into a problem for the brand.
- Treating every group of ambassadors identically. A 10-person nano ambassador program and a handful of macro-tier partnerships need different levels of hands-on onboarding. A one-size-fits-all process usually under-serves one group or over-manages the other.
- Not testing tools before handoff. A discount code that doesn't work or a broken link in the welcome kit undermines trust from the start and can cost your brand financially, since you’re paying for content that won’t bring results.
- Not assigning a point of contact with the ambassador. If multiple team members are involved in managing ambassadors, it should be clear from day one who the ambassador's actual point of contact is for questions, approvals, and payment issues.
- Not revisiting the brief as the brand evolves. A brief that was accurate at signing can go stale within a few months if pricing, messaging, or product lines change. Ambassadors working off an outdated brief are the ones most likely to post something that needs a correction later.
The common thread across all of these items is the same: onboarding is a first impression and sets the tone for the relationship. Ambassadors calibrate how seriously to take the partnership based on how seriously the brand appears to take it.
Build a Scalable Onboarding Process with SideShift
Running a consistent, high-quality onboarding experience gets difficult once a program grows past a handful of creators, especially if contracts, briefs, and check-ins are scattered across email threads and spreadsheets.
SideShift centralizes influencer management in one place: source, organize, manage programs at scale, and track performance all inside the same platform, so onboarding new talent doesn't mean rebuilding the process from scratch every time.
You’ll be able to build a roster of recurring ambassador partners, keep campaigns moving, and turn sporadic growth activity into a structured, always-on program.
Want to put this into practice?
SideShift connects you with vetted UGC creators who actually deliver. Start your free trial and post your first job in under 10 minutes.
FAQs
1. What is a brand ambassador?
A brand ambassador is a creator who represents a brand on an ongoing basis, rather than for a single sponsored post. Ambassadors typically commit to a set content cadence over weeks or months, often in exchange for a mix of product, flat fees, or commission, and the relationship is built around consistent, long-term representation rather than a one-off collaboration.
2. How long should ambassador onboarding take?
Most onboarding processes can be completed within one to two weeks, though the timeline depends on how quickly the contract is finalized and whether a live kickoff call is scheduled. Rushing it to save a few days usually costs more time later in miscommunication.
3. How do you ask someone to be a brand ambassador?
Reach out with a specific, personalized pitch that references why they're a good fit, what the partnership would actually involve (content cadence, compensation, expectations), and why it's worth their time. Creators are far more likely to say yes to a clear, concrete proposal.
4. How do you create a brand ambassador program?
Start by defining the program's goal (awareness, sales, content volume), the tier of ambassadors you want (nano, micro, or a mix), and what you're offering in exchange for participation. From there, build a repeatable process for recruiting, onboarding, briefing, and compensating ambassadors, ideally with the onboarding checklist above as the foundation, so the program can scale without reinventing the process for every new ambassador.
5. How often should you check in with brand ambassadors after onboarding?
A monthly or quarterly check-in is typical, depending on program size. Regular check-ins help catch performance issues early and keep the relationship active instead of letting it drift after the initial onboarding.